Instructions and troubleshooting for the VertigoIMU inertial datalogger.
Born
to Engineer films from the ERAF

VertigoIMU Usage Instructions
A compact 11dof inertial datalogger with AHRS
Contents:
Setting up Vertigo
When you receive Vertigo, your package should contain the following items:
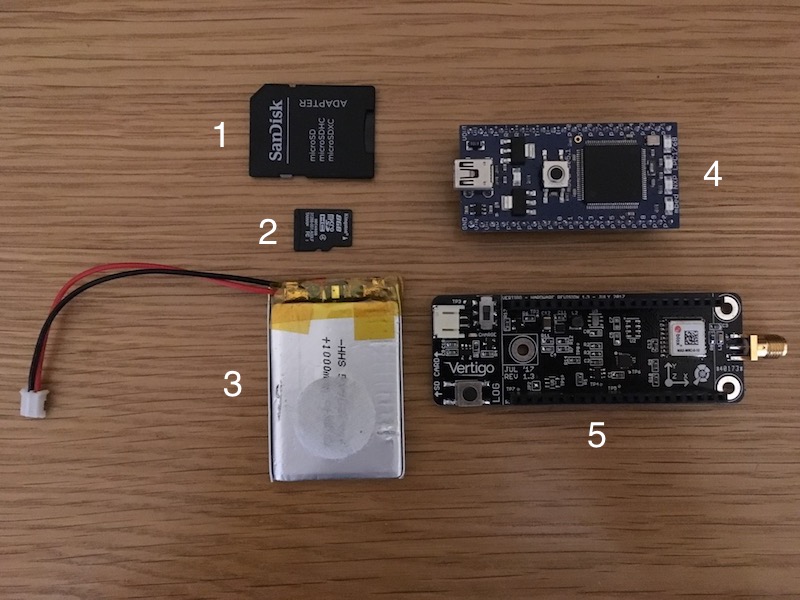
- SD to microSD adapter
- microSD card
- Battery
- MBED processor
- Vertigo sensor board
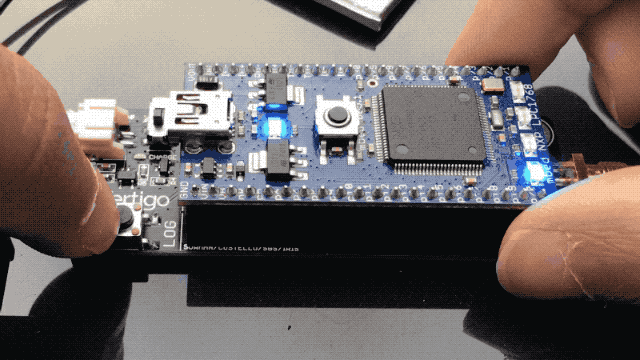
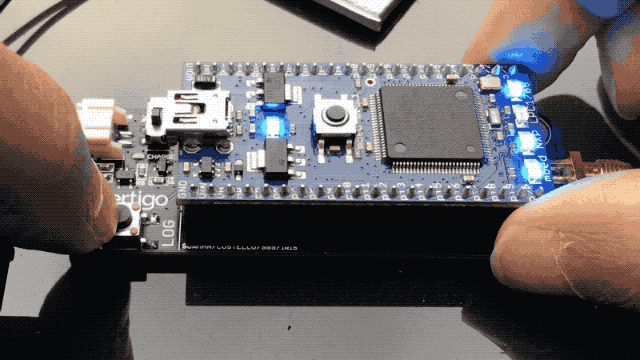
Putting everything together is really easy. Just follow these steps.
-
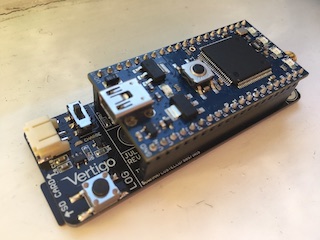
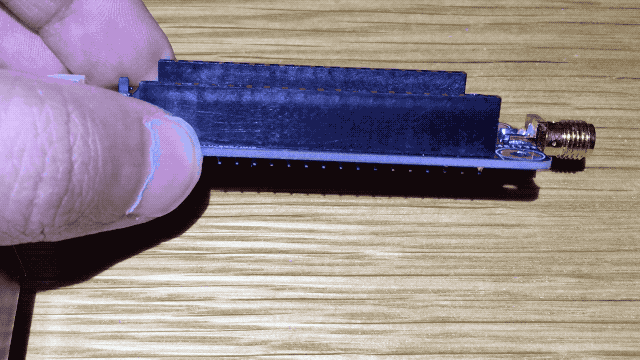
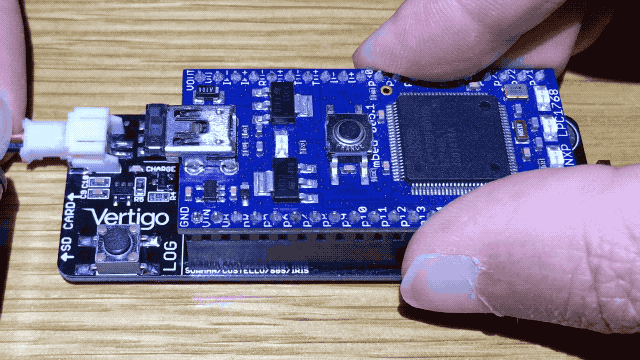
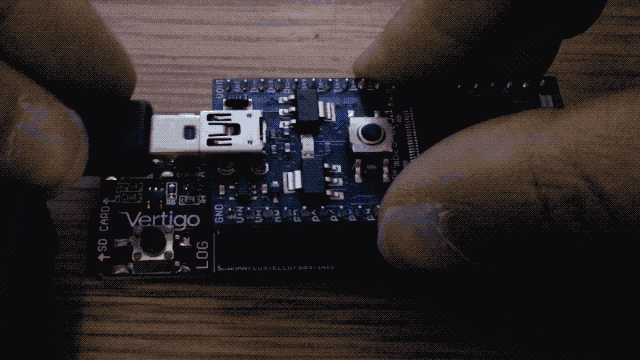
Locate the MBED processor on top of the Vertigo sensor board. Ensure correct orientation! The MBED USB connector should be at the same end as the battery connector, LOG button, and power switch on the Vertigo sensor board, as shown here:
-
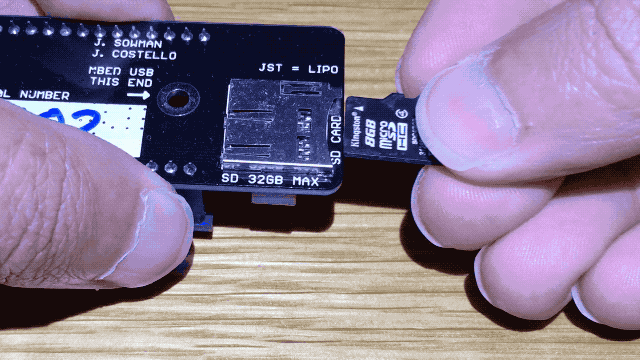
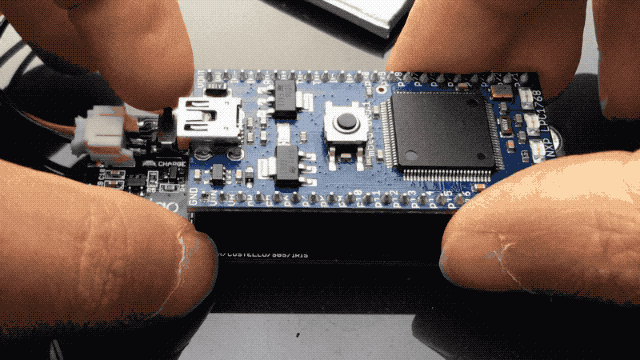
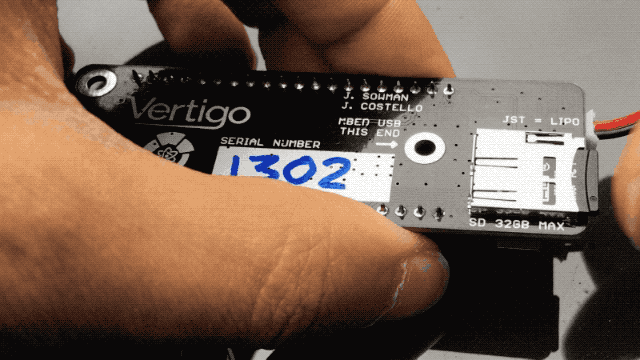
Insert the microSD card by gently inserting it into the slot until it clicks, then release.
-
Lastly, attach the battery connector. This is intentionally difficult to insert to minimise the chance of accidental detachment. You won’t need to remove this again since Vertigo contains an onboard battery charger.
Using Vertigo
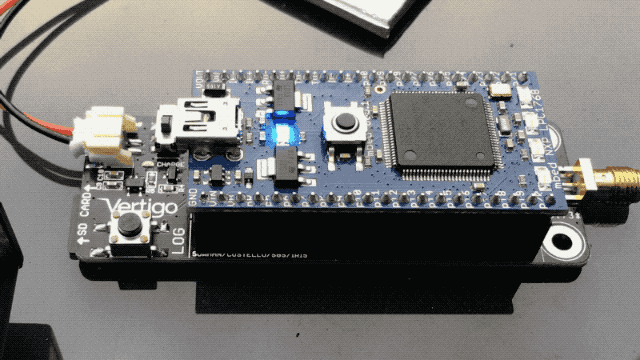
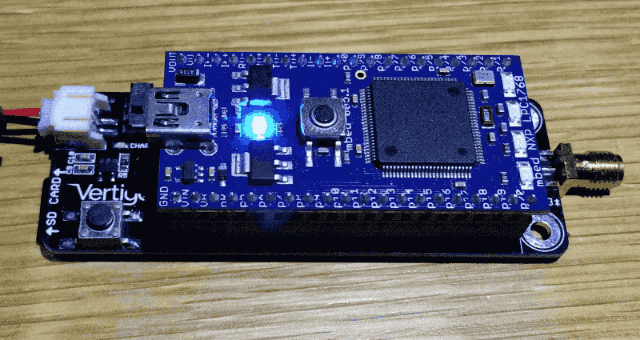
Your constructed Vertigo looks like this:
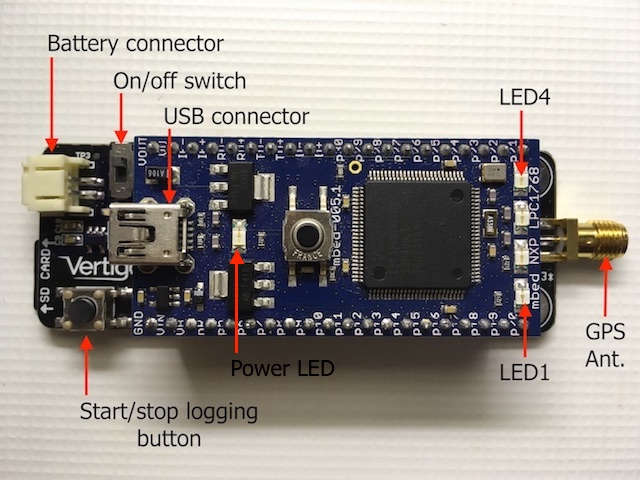
Powering-on Vertigo
- Make sure the battery is connected and the microSD card inserted.
- Slide the power switch towards the centre of the unit to power up.
-
The LEDs flash twice indicating battery level.
Note: The LEDs will flash twice indicating the battery level. If 4 LEDs flash, the battery is fully charged. If only 1 or 2 flash, you should charge your Vertigo soon.
- LED1 begins to flash slowly indicating Vertigo has passed its self-test and is ready. LED2 flashes fast whilst Vertigo is searching for a GPS lock.
If Vertigo does not boot, but instead shows the following LED sequence, the battery is low. Please charge Vertigo.
Beginning Logging
When Vertigo is ready, press the LOG button to begin logging. Note that LED4 lights up solidly indicating that Vertigo is logging.
Stopping Logging
During logging, press the LOG button again to stop. Note that LED4 will flash fast whilst the data is written to the SD card, and will extinguish once complete. Vertigo can now be powered off, or another logging cycle can begin.
Remove SD card
The microSD card connector is a push-push connector. Gently push the card in to release it, then remove it from the slot.
You can now insert the microSD card into the SD card adapter in order to transfer the data to a computer for analysis.
Charging Vertigo
Charging Vertigo is super easy since the battery charger is built in! You just need a mini-USB cable, and follow these instructions to make sure your Vertigo is fully charged.
- Make sure Vertigo has its battery connected and is powered OFF.
- Connect the mini-USB connector to the MBED USB port.
- The green CHARGE LED will illuminate and a blinking pattern will be shown on the blue LEDs.
- When the green CHARGE LED is extinguished, the battery is charged.
If Vertigo’s battery is too low to operate, upon power up, Vertigo will not boot. Instead, it will show the low battery warning:
Troubleshooting Vertigo
Vertigo flashes LED1 and LED4 alternately to indicate an error sequence, as shown below. If this happens, make sure of the following:
- The SD card is formatted (FAT32) and inserted fully into the slot
- The Vertigo sensor board is in the correct orientation and fully seated

If you still have problems, please get in touch. Please include the contents of
the vtg_info.txt file that Vertigo creates on the microSD card. An example is
shown below:
SERIAL=1303
FIRMWARE=8576751
MBED-LIBRARY-VERSION=134
MBED-OS=5.3.3